Tutorials
Before you Start
Take the skin out of the tube and lay it flat with some weight on top. Next take pictures and measurements of your guitar setup. Clean and prepare your work area and have tools nearby. If you are nervous to begin, ask a friend to help. Most importantly give yourself plenty of time to work at your own pace. Grab a bevy, go slow and good luck! You got this.
Tips & Housekeeping
• Always use a sharp blade.
• Most bubbles will go away by themselves.
• Be careful when over tightening screws as it may wrinkle the skin.
• When working around bevels, relief cuts may be necessary.
• Avoid touching the adhesive too much as it will reduce the tackiness.
• Ensure the work area is clean to avoid debris from getting caught under the skin.
Tools Required
Exacto knife
Masking tape
Scissors
Screwdriver
Pliers
Vinyl squeegee*
Tracing paper*
Knifeless tape*
Soldering gun*
Heat gun*
*Optional

Step 1: Get naked
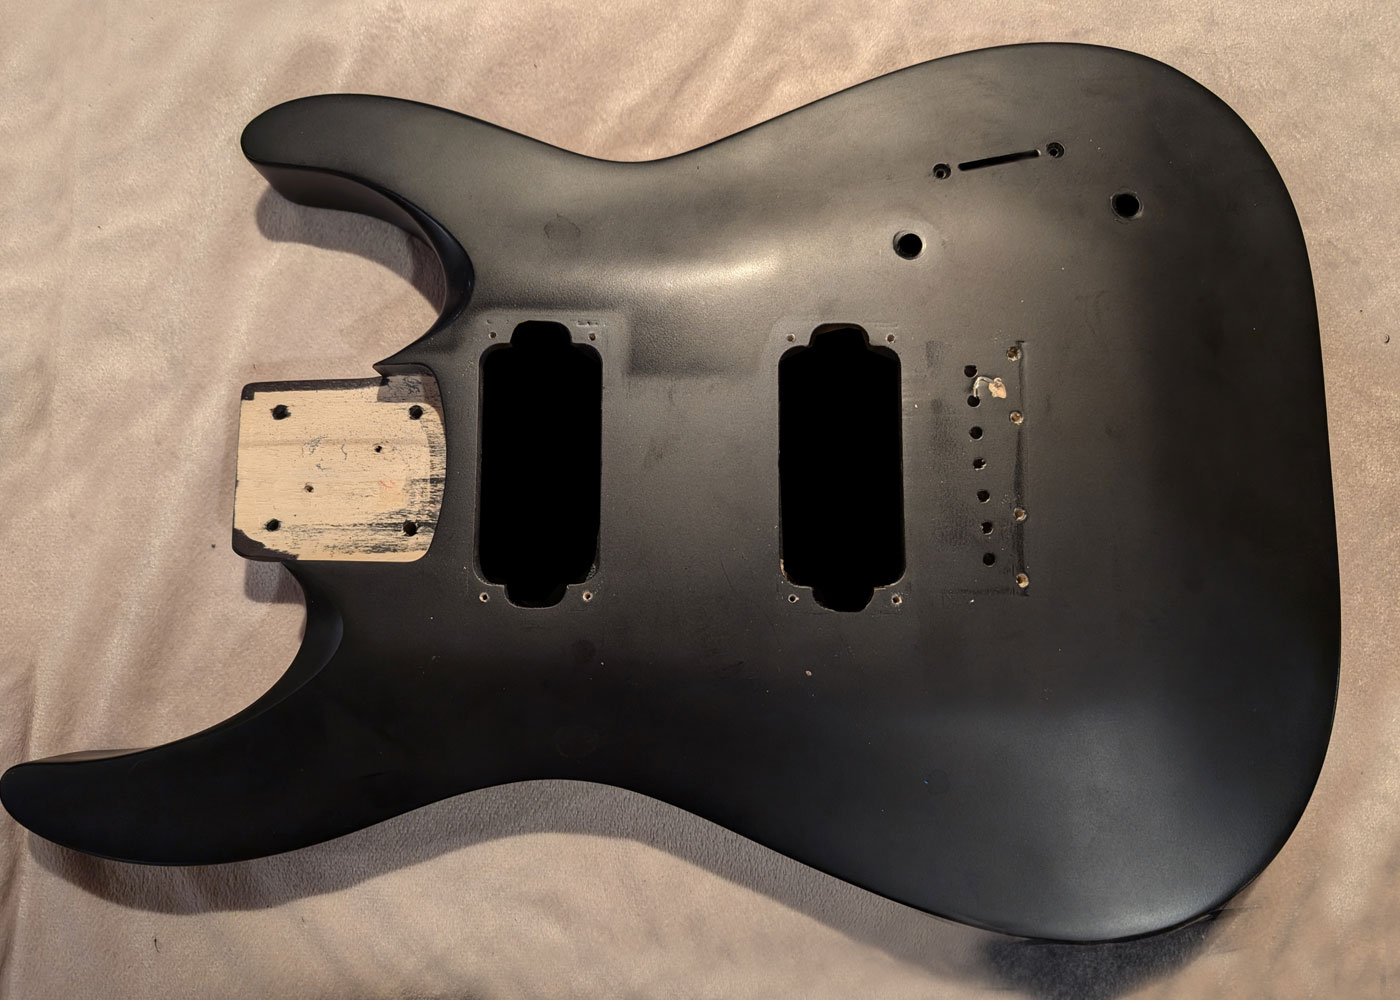
To achieve the best and easiest install, remove all hardware until it is just the bare body itself. Make sure to take notes of any setup specifics as you go for reference. Once the guitar is naked, fill any dents on the body if there is any. If the skin is applied over a dent in the body, there could be an air pocket. Next clean the body thoroughly inside and out so it is spotless. Apply knifeless tape if you are trimming with this method.
It is possible to skin without removing the hardware but it is way more difficult and its tough to get a good result.

Step 2: Trace a template
*Optional Step*
Follow this step if you want to see how the skin lays over the guitar.
Trace the guitar onto tracing paper, cut it out and then overlay onto the skin. Position it however you like it. Tape the tracing paper to the skin then cut around the perimeter leaving at least 1 inch around.

Step 3: Applying the skin
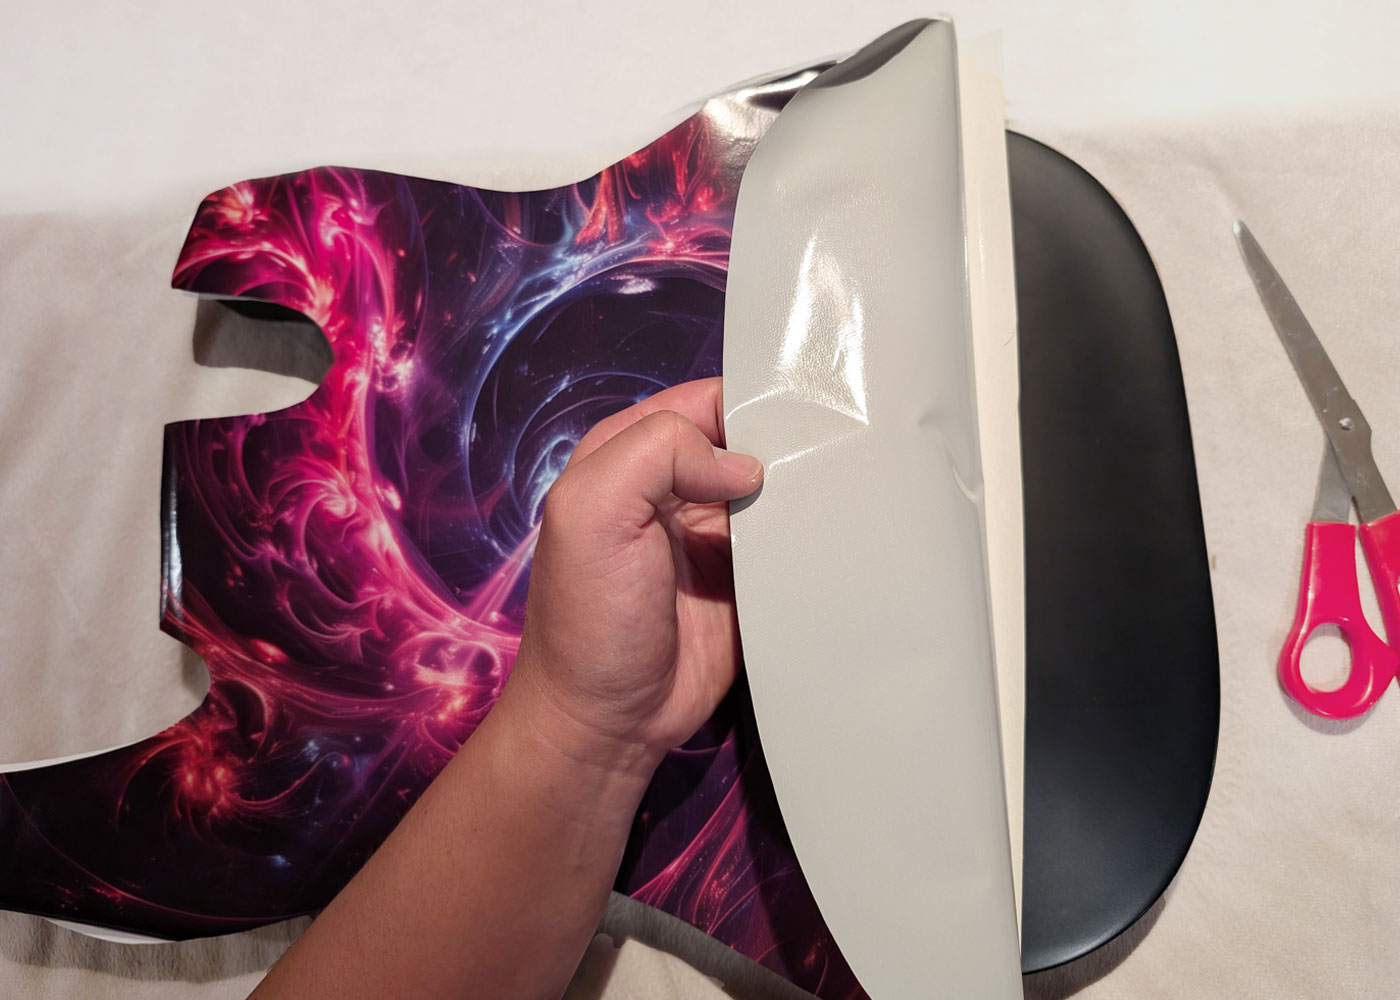
Remove a strip of backing from the skin and adhere to the guitar. As you remove the backing, smooth out the skin to get rid of bubbles. Make sure the guitar is free of debris before sticking on. If you have bubbles, lift the skin carefully to not overstretch, then chase the bubbles to the edge. Bubbles can be popped with a pin as well, and most bubbles typically disappear in a few days. If you need to make the skin more malleable, use a heat gun to give it a little extra stretch.

Step 4: Trimming
Get a fresh exacto knife and carefully carve around the perimeter of the guitar body and cavities. Press on the skin over a cavity to reveal the edge to start the cut. Poke a hole over the screw holes. When making fine adjustments, make sure to cut gently and not go through the skin.
If you are using knifeless tape, reveal the wire in the tape and pull on it to cut the skin.

Step 5: Put it all back
This is a good point to do any modifications or upgrades to the guitar itself. Install the hardware, throw on some strings and admire your brand new guitar!
Resources
There are many different methods to applying a skin. Visit Youtube and do a search to see how others are applying their skins. Watch a few videos and get comfortable with the process. This video is a recommended watch.
